Summer research project · Grade 3 · Aug 2026 · Selected for the Maker Faire Two-Minute Film Festival
K-Dash
Can I 3D print shoes that make me run faster?
Fully DIY running shoes designed for speed. Kanata scanned his own feet, designed the shoes with AI and 3D CAD, printed them in soft TPU on a home 3D printer, and then ran 400 m to find out whether they made him faster. His dad helped with the scanning, CAD, materials and printing.
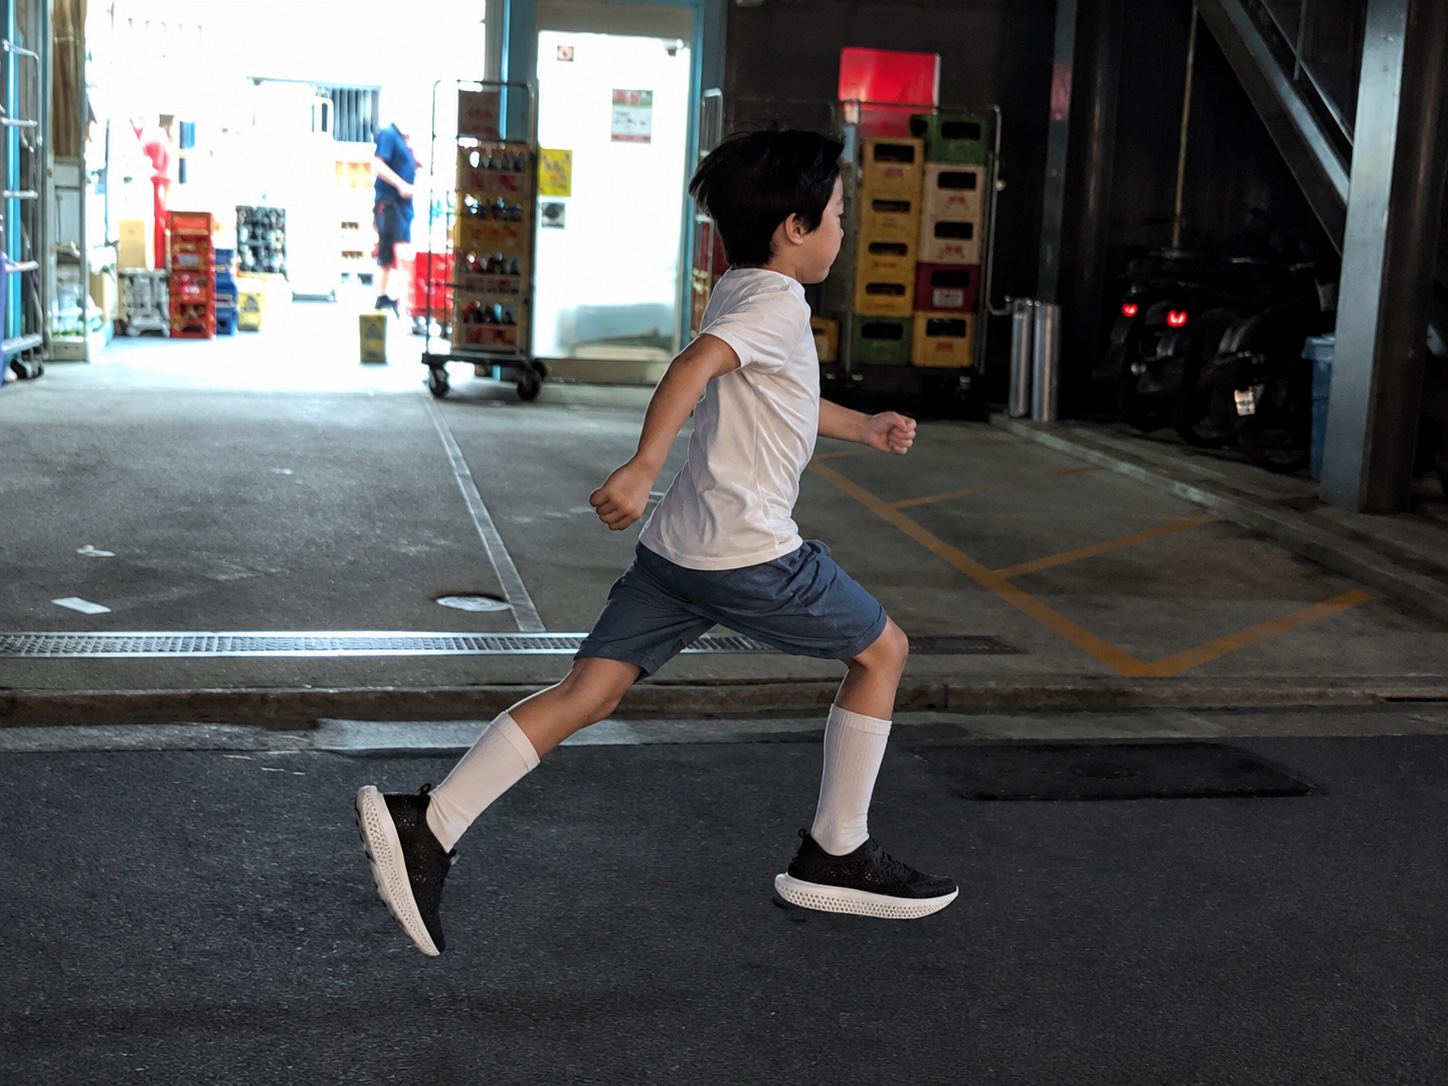
Why make them?
Kanata runs with a running club and wants to beat his friends. After watching a video of someone 3D printing shoes, he thought: if the shoes fit my feet exactly, running should get easier.
Kanata's prediction: a perfect fit + a shape that rolls forward = faster?
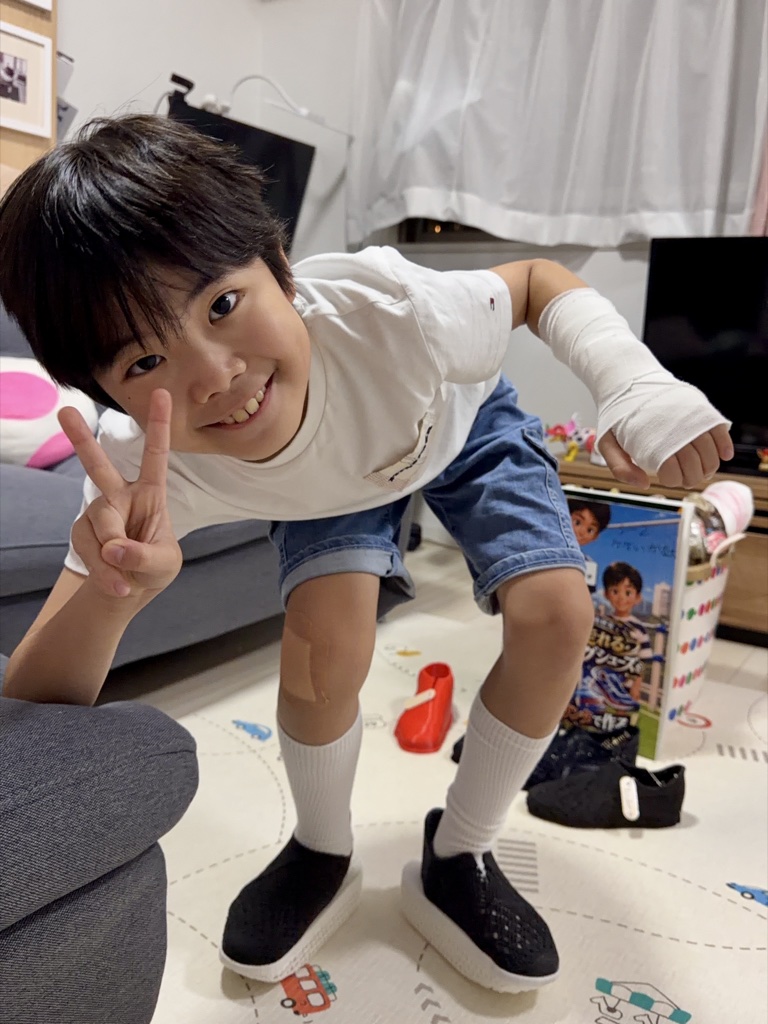
What makes a shoe fast?
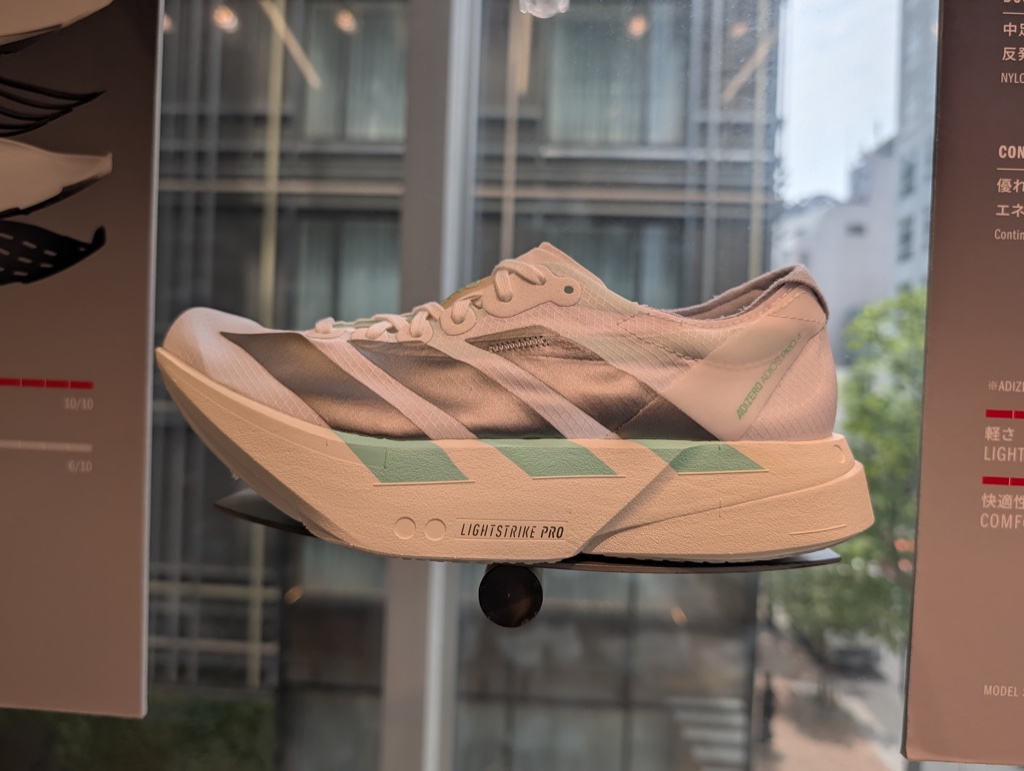
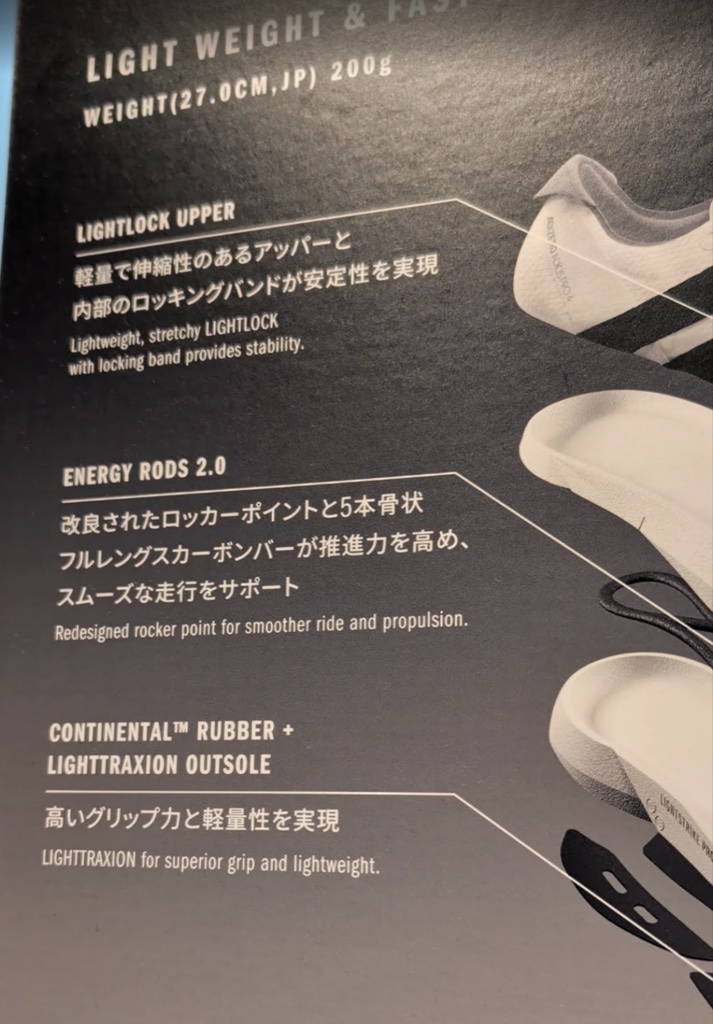
Kanata's running club coach explained that fast shoes share three features: a raised toe, a thick sole, and a plate that springs back and pushes the foot forward. To see them for real, Kanata visited a shoe store in Tokyo and compared how different brands use plates and cushioning, with a little help from AI.
- Raised toe
- Thick sole
- Springy plate
Turning his feet into 3D data
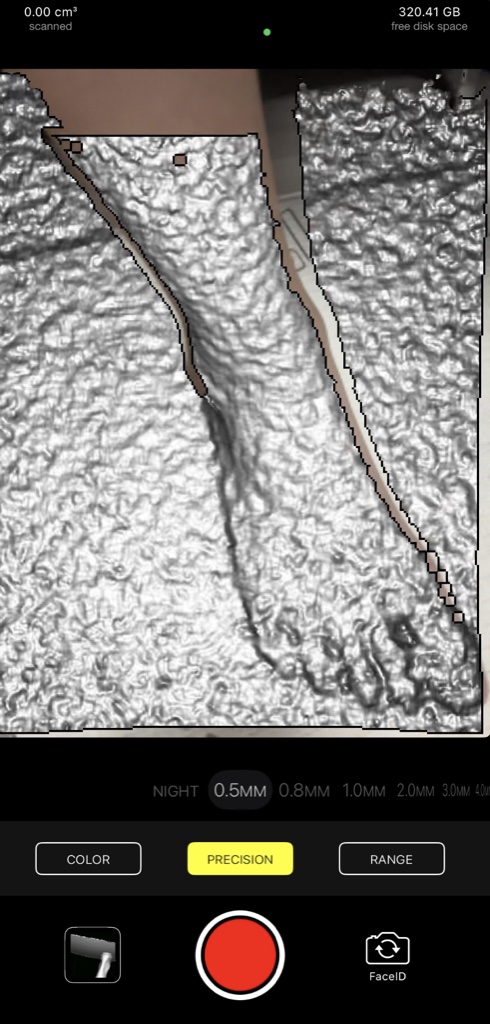
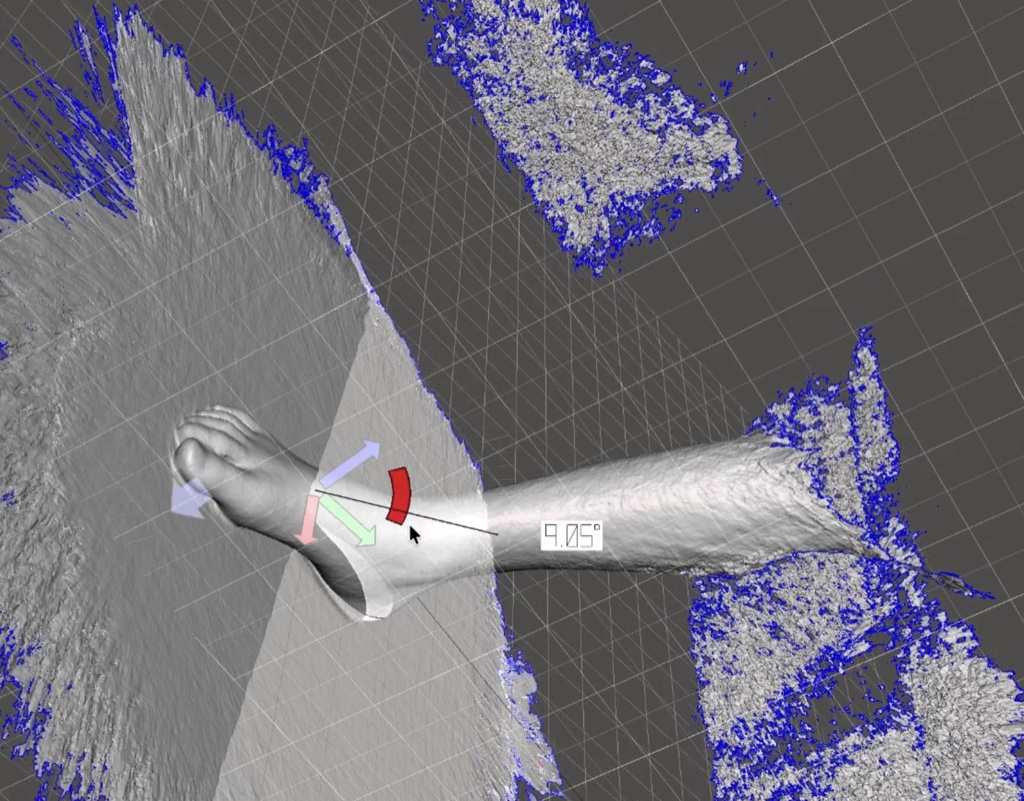
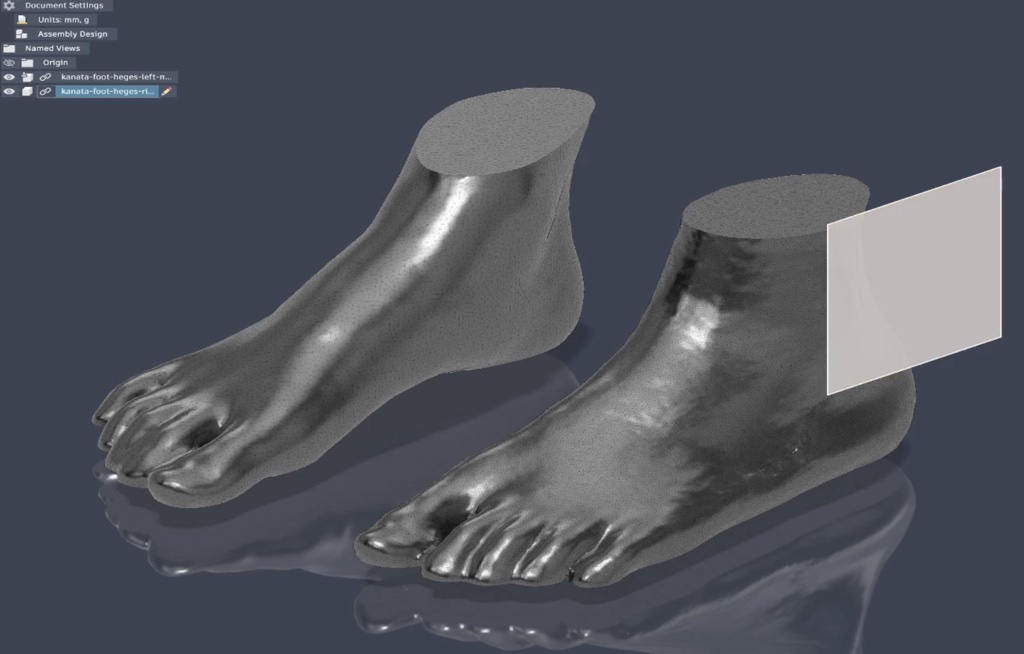
To make uppers that really fit, Kanata scanned both feet with the Heges app and the iPhone's TrueDepth sensor, at roughly 0.5 mm accuracy. The raw scan also captured the floor and everything around it, so the next job was cutting all of that away until only the feet were left.
Designing with AI and 3D CAD
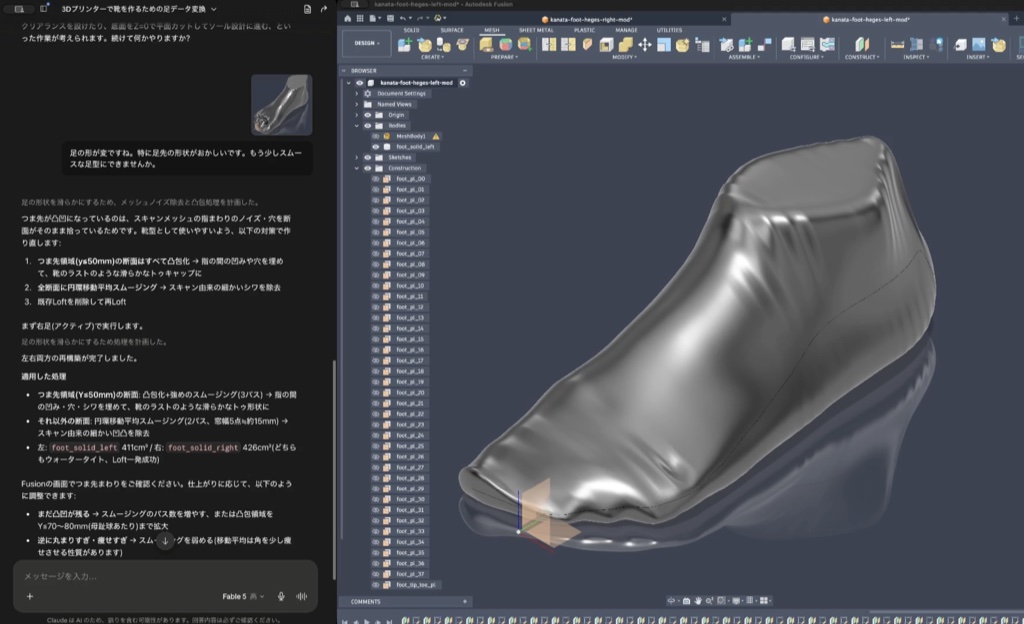
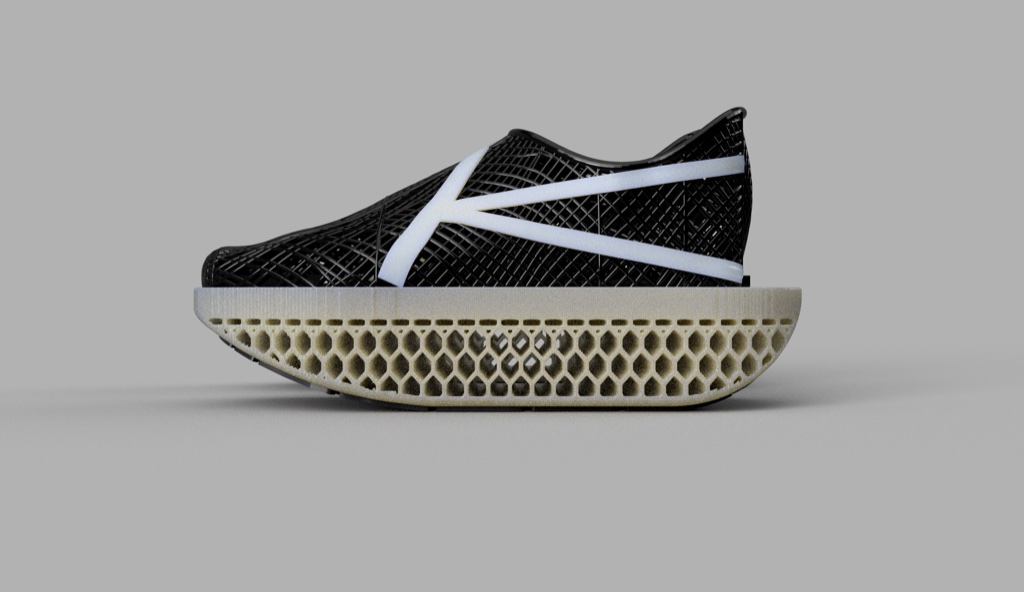
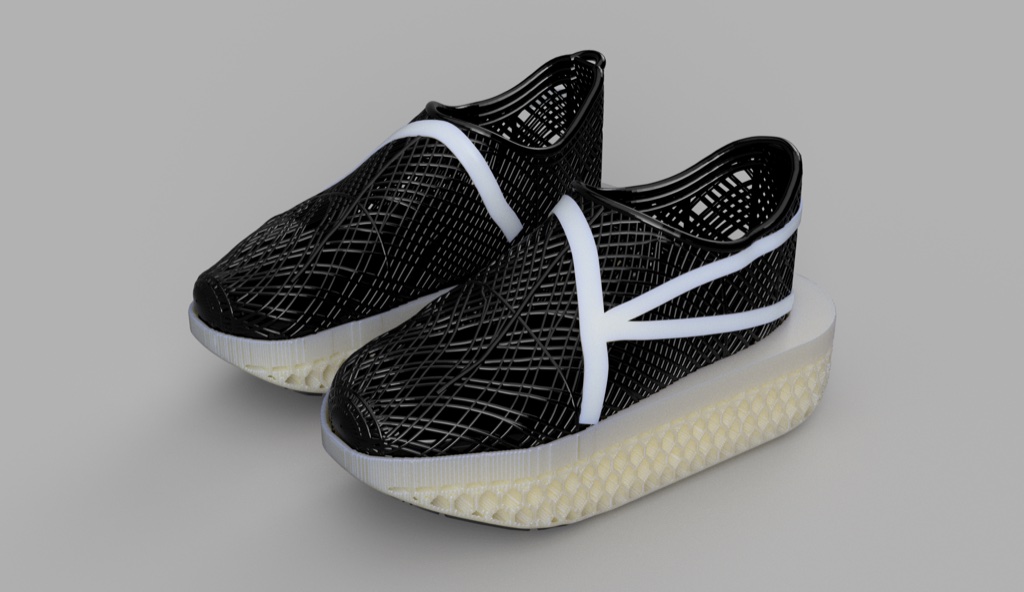
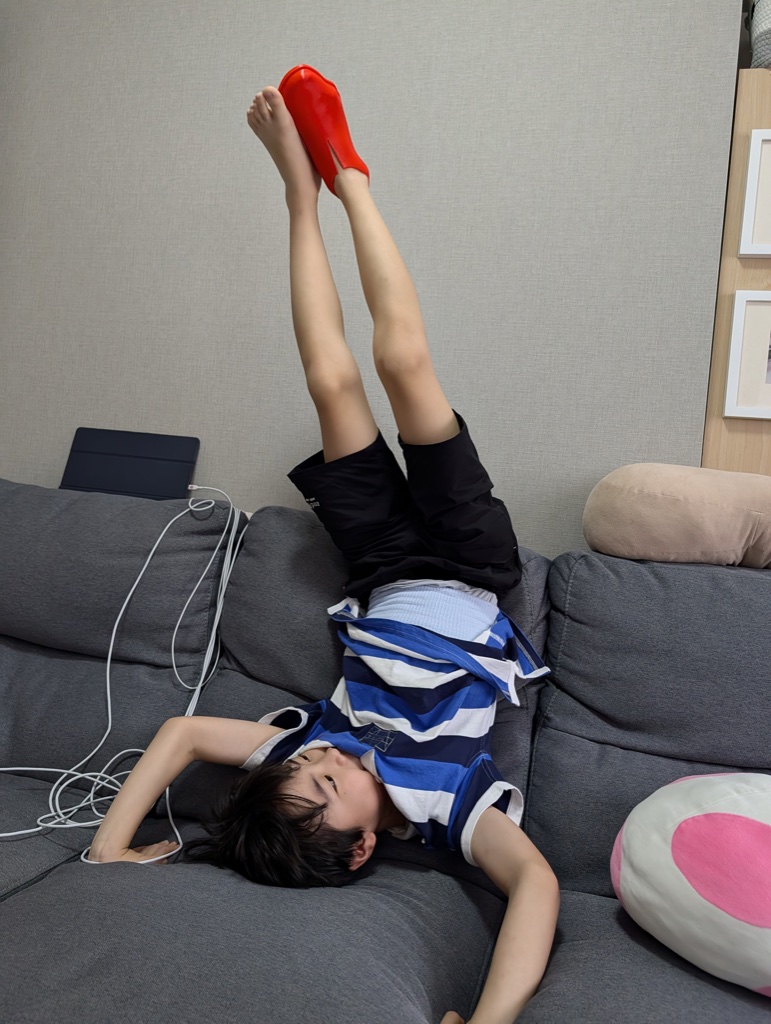
The shoes were designed in Autodesk Fusion. Kanata described the shapes he wanted to AI assistants, which drove Fusion through MCP to build them: a mesh upper fitted to his scanned feet, a raised toe, and a honeycomb sole to save weight. A solid red upper came first, just to check the fit; the lighter mesh version followed.
Many failed prints
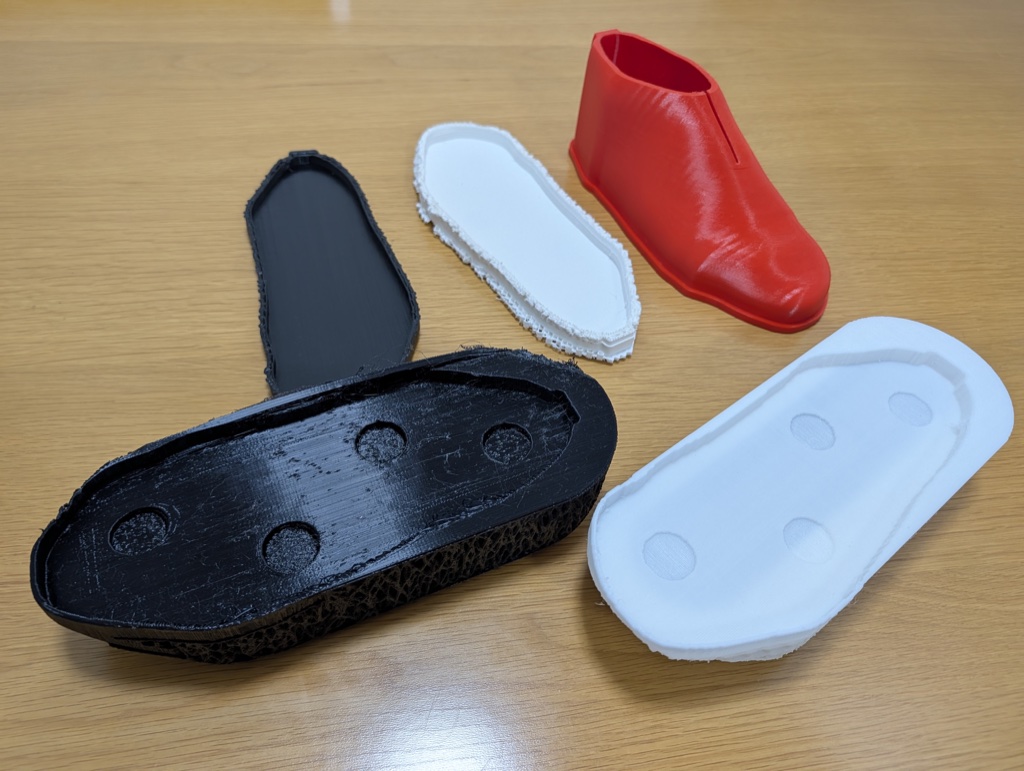
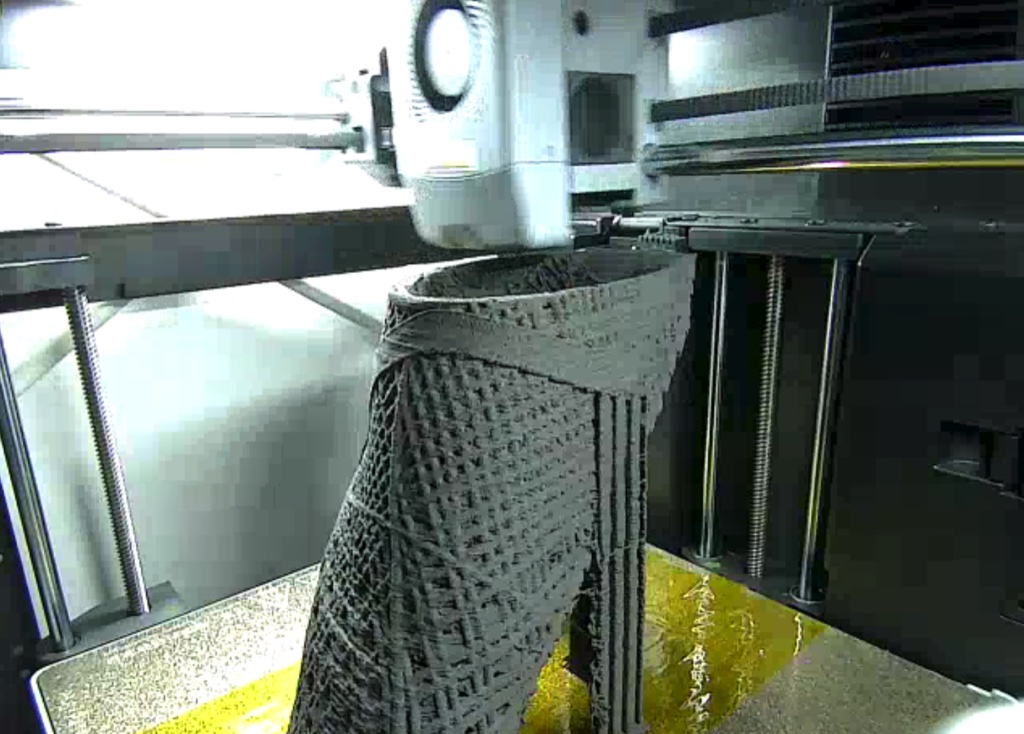
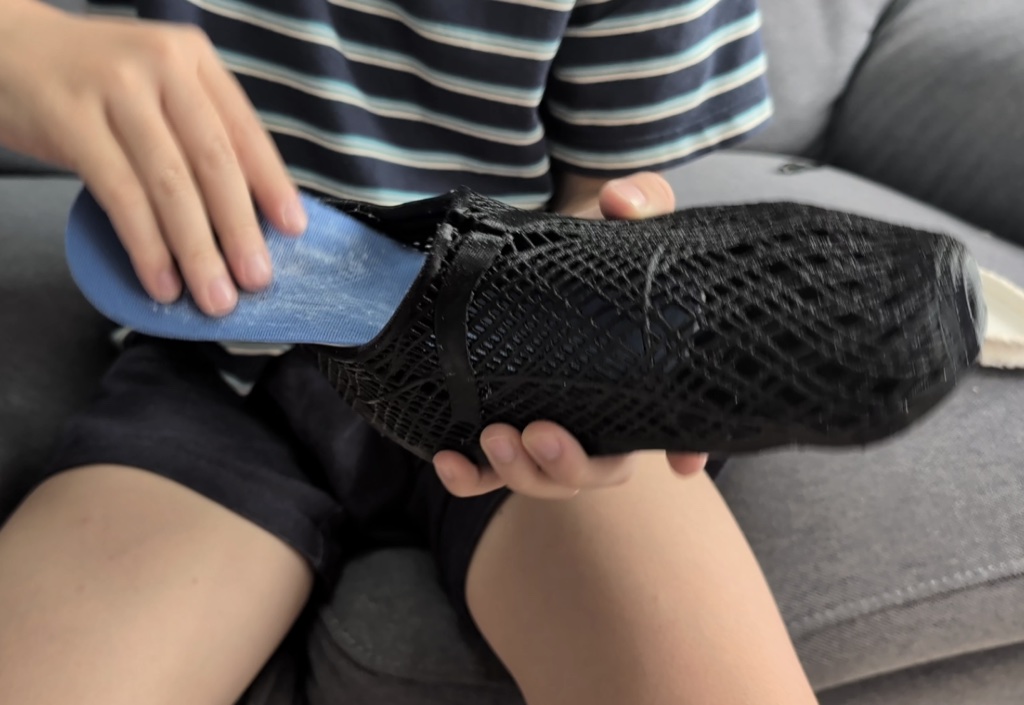
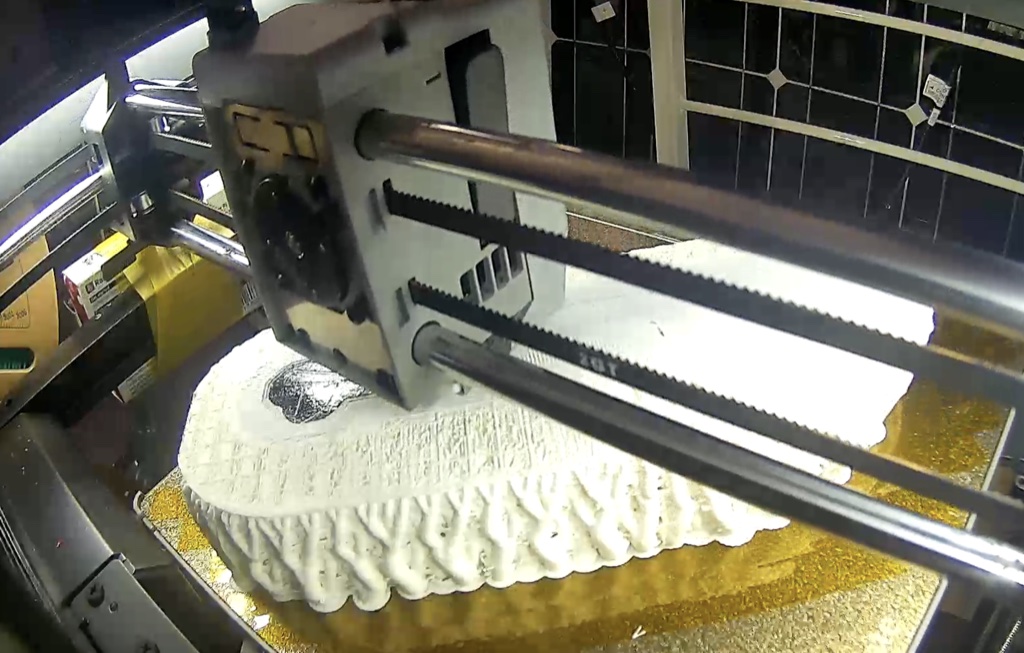
Everything was printed on a FlashForge AD5X at home. Soft filament turned out to be the hard part: regular TPU and PEBA were still a bit stiff, and prints kept failing until Kanata changed one thing at a time - temperature, a 0.6 mm nozzle instead of 0.4 mm, and a simpler filament path. The winner was Siraya Tech Flex TPU Air, a foaming filament that gets softer with more heat, printed at 260 °C for a 70A feel. He printed an upper on its own first to check the fit, then added insoles for comfort.
A plate hidden in the sole
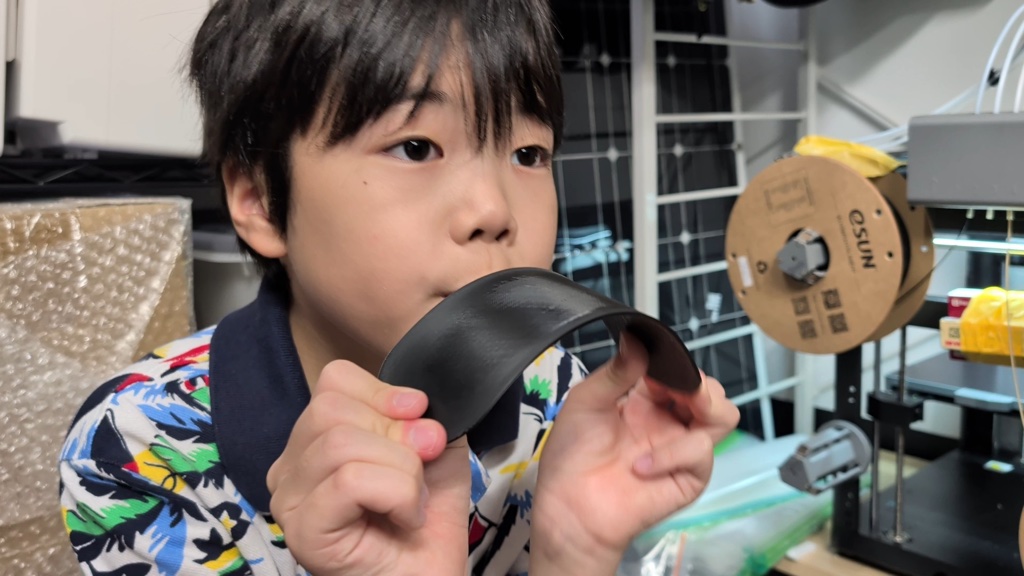
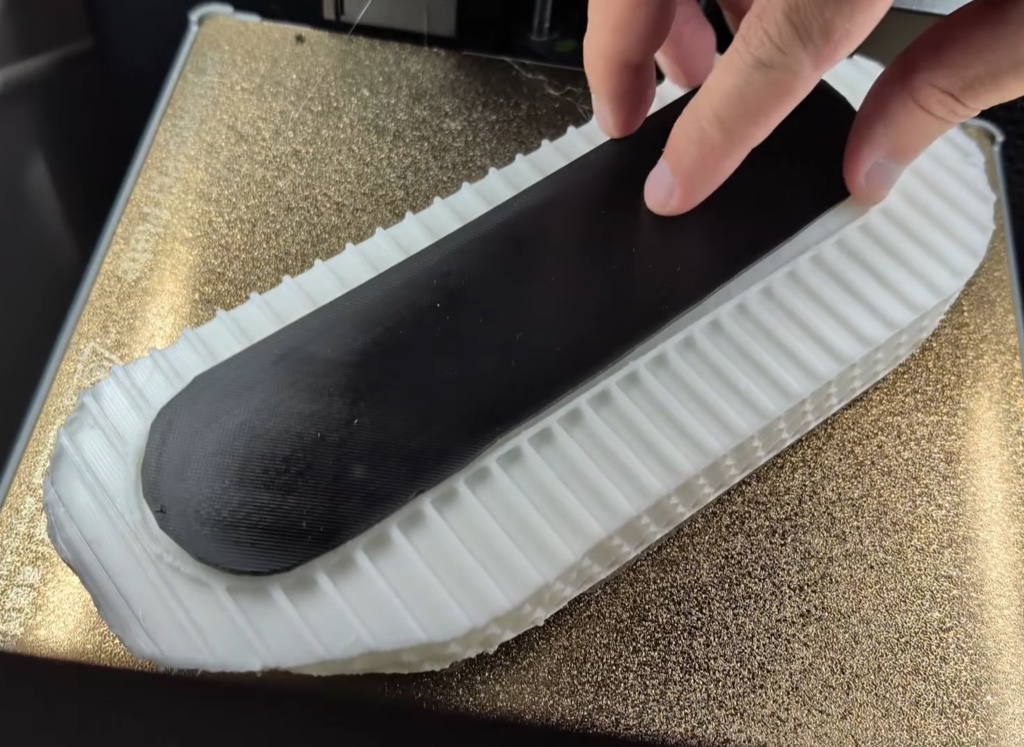
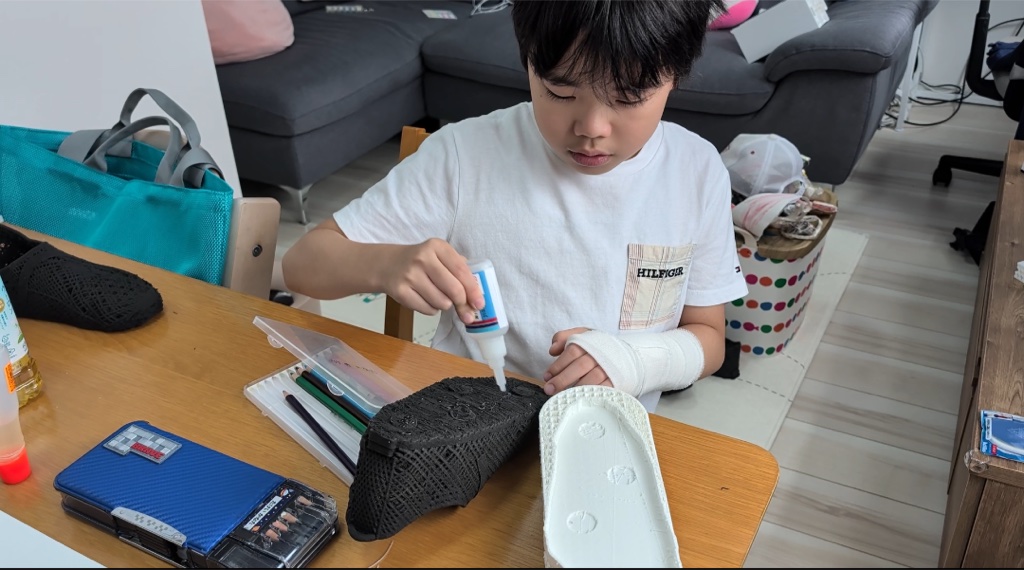
Carbon plates are hard to make at home, so Kanata 3D-printed a polycarbonate plate instead. Bent hard, it sprang straight back without breaking. To get it inside the sole, the print was paused at the right height, the glued plate was laid in, and the print resumed, embedding the plate in the TPU. Finally the uppers and soles were glued together.
Weigh it, run it, compare it
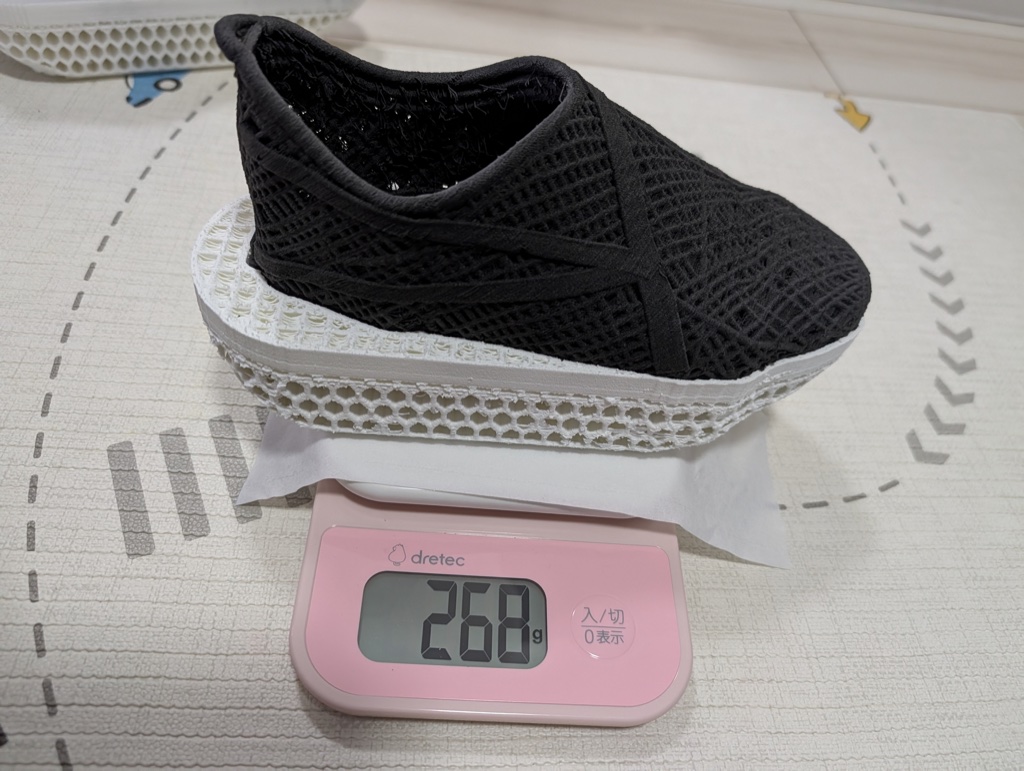
Kanata weighed each shoe on the same scale and ran 400 m once in regular shoes and once in K-Dash v2.
| Shoe | Weight | 400 m |
|---|---|---|
| Regular running shoes | 204 g | 1:56 |
| K-Dash v1 (PEBA + TPU) | 411 g | - |
| K-Dash v2 (TPU Air) | 268 g | 1:51 |
143 g lighter
v2 is about 35% lighter than v1 thanks to the new material - still heavier than regular shoes, though.
5 seconds faster
Over 400 m, K-Dash v2 beat the regular shoes by 5 seconds. One run each, so take it as a first result.
Watching the sole in slow motion
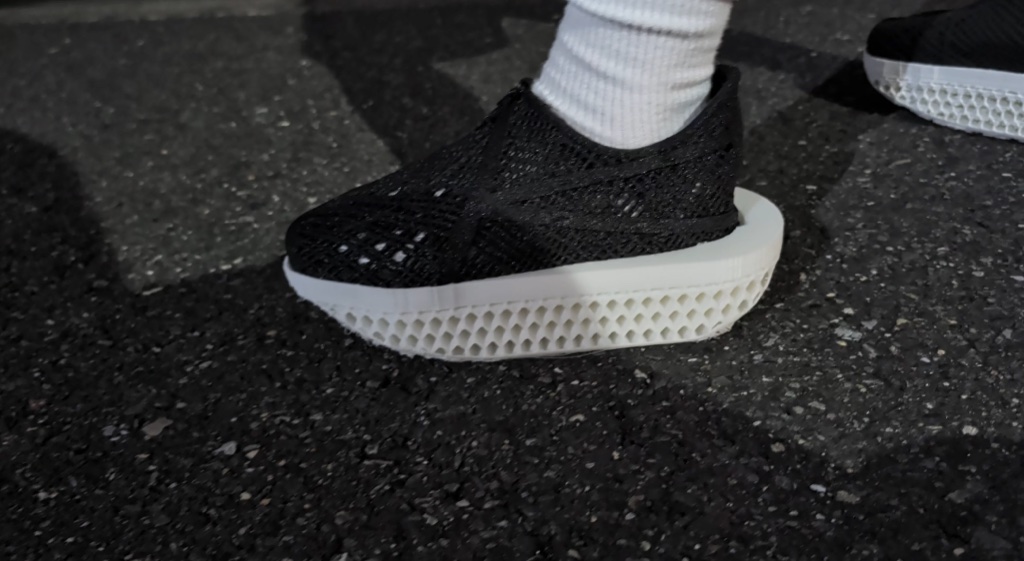
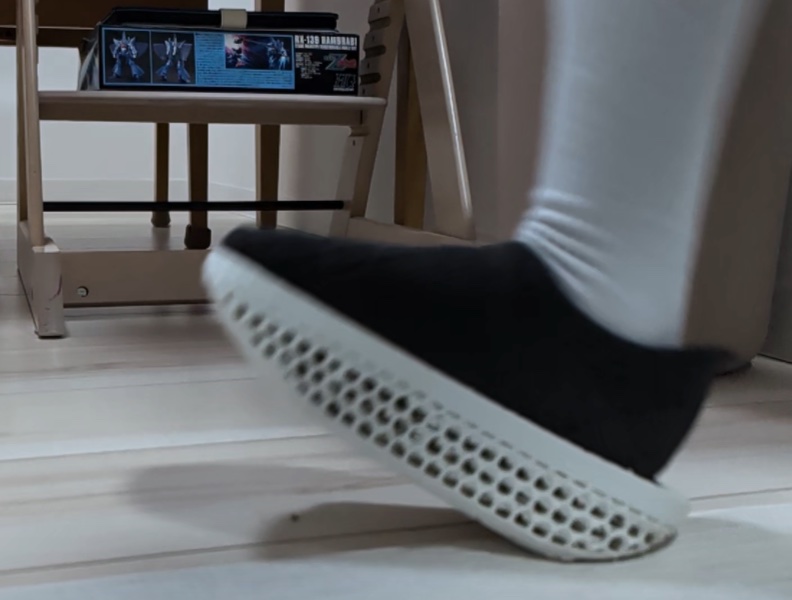
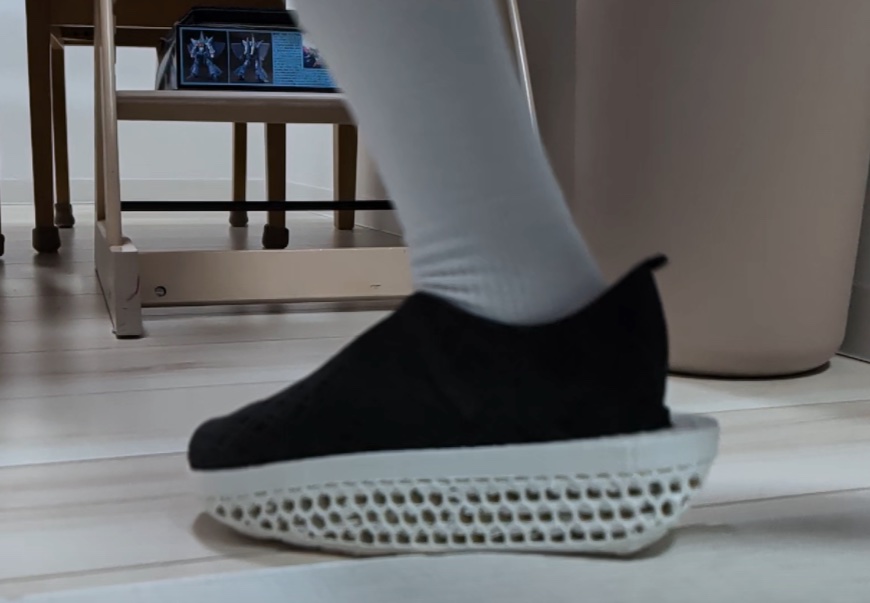
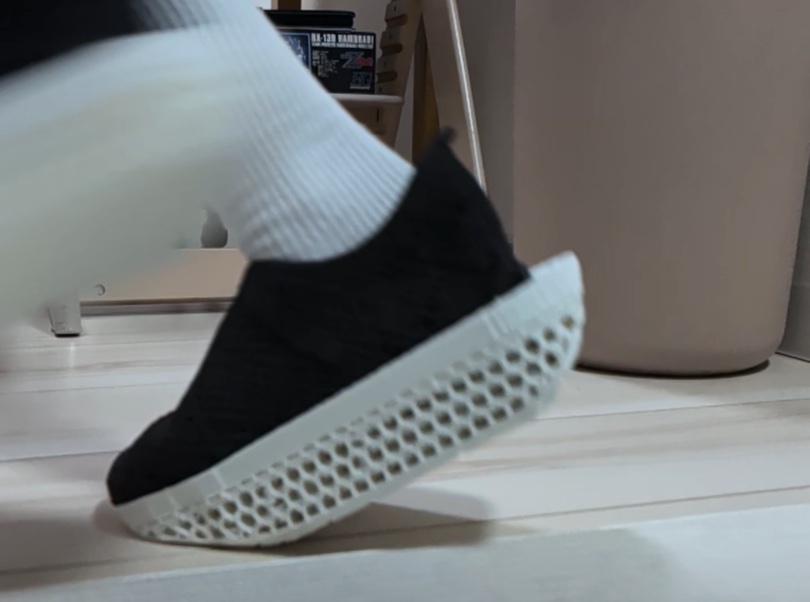
Filmed from the side, the honeycomb sole was checked at three moments: touching down, taking the weight, and pushing off. It kept its shape through all three.
What Kanata learned
Lighter
Changing the material and the sole structure made v2 143 g lighter than v1. Weight is something you can design.
Faster, maybe
K-Dash was 5 seconds faster over 400 m and felt easier to push forward.
But one run is not proof
A single run can't separate the shoes from how he felt that day or the course. That needs more runs.
What's next
- Run 3 times each, same course and conditions, in regular shoes and in K-Dash.
- Time 1 km as well as 400 m.
- Check the sole's shape after running and how the feet feel over a longer distance.